Setting Up Apple Push Notifications (APNs) for iOS/iPad
To enable push notifications for your iOS app, you must create an App Identifier and generate an APNs Authentication Key (.p8) in your Apple Developer account. This key allows Push0 to securely send push notifications to your application via Apple Push Notification service (APNs).
Requirements
⦁ Push0 account. If you did not create your Push0 account yet please head to Push0 registration
⦁ Computer with MacOS
⦁ Xcode 14+
⦁ Paid Apple Developer Account with Admin Role
Follow these steps:
1. Create an Apple app identifier
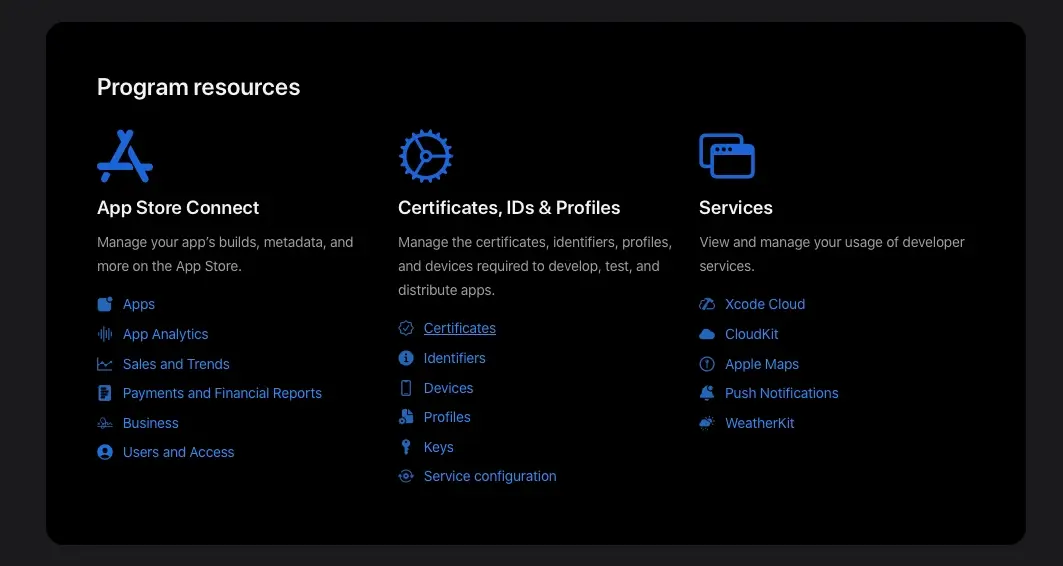
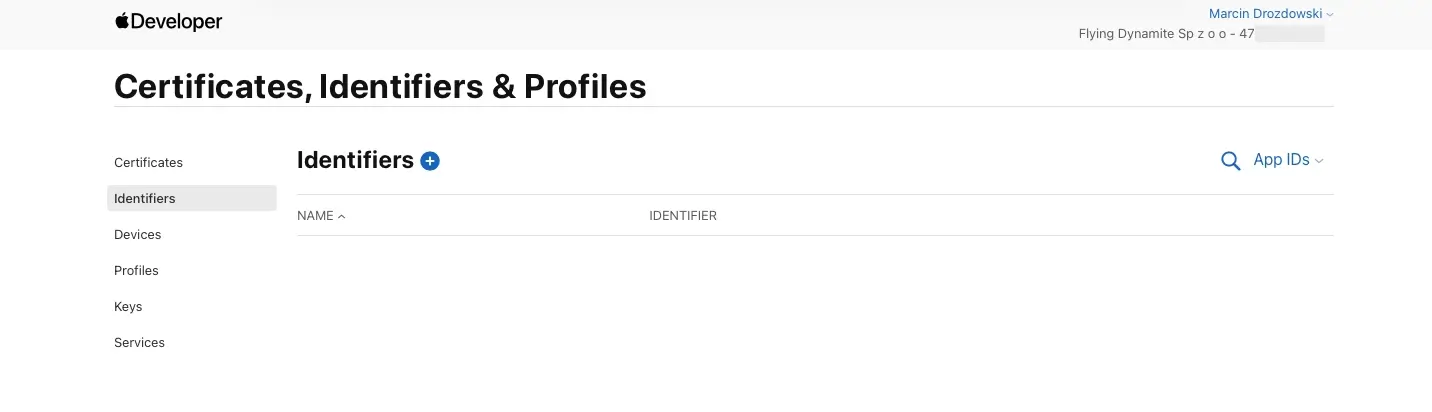
1 - Go to the Apple Developer Account and click Identifiers
2 - Click the + button to the right of Identifiers
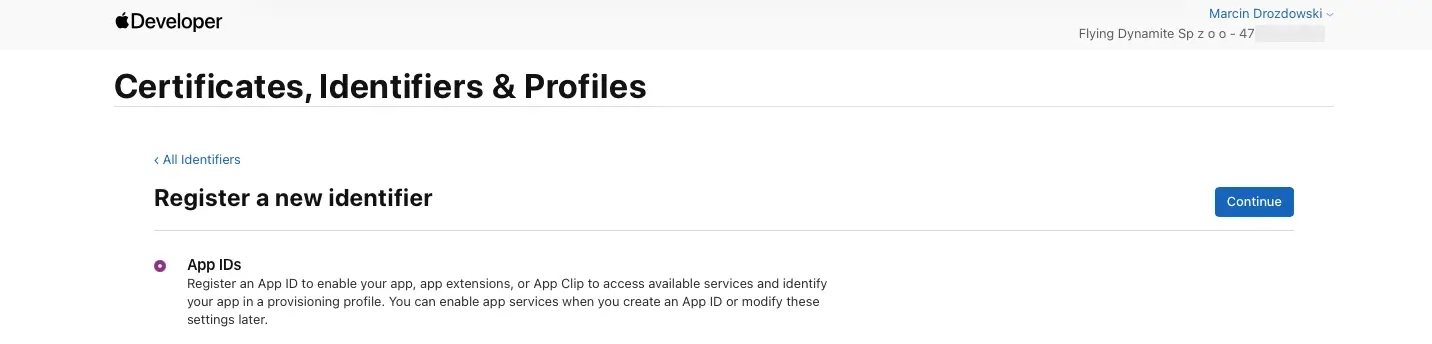
3 - Select App IDs and click Continue
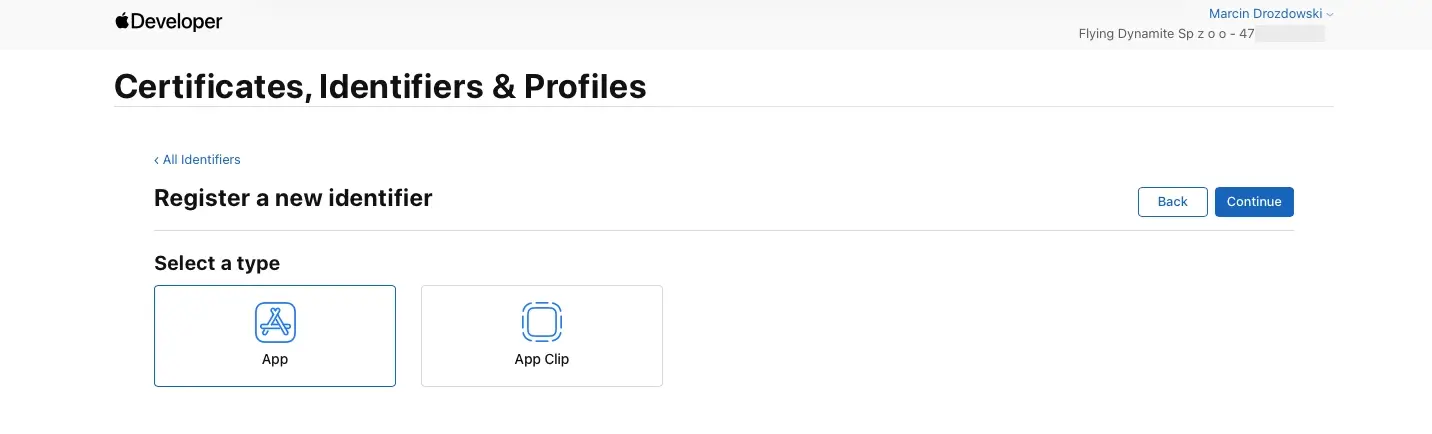
4 - Select App type and click Continue
5 - Type your bundle id and description
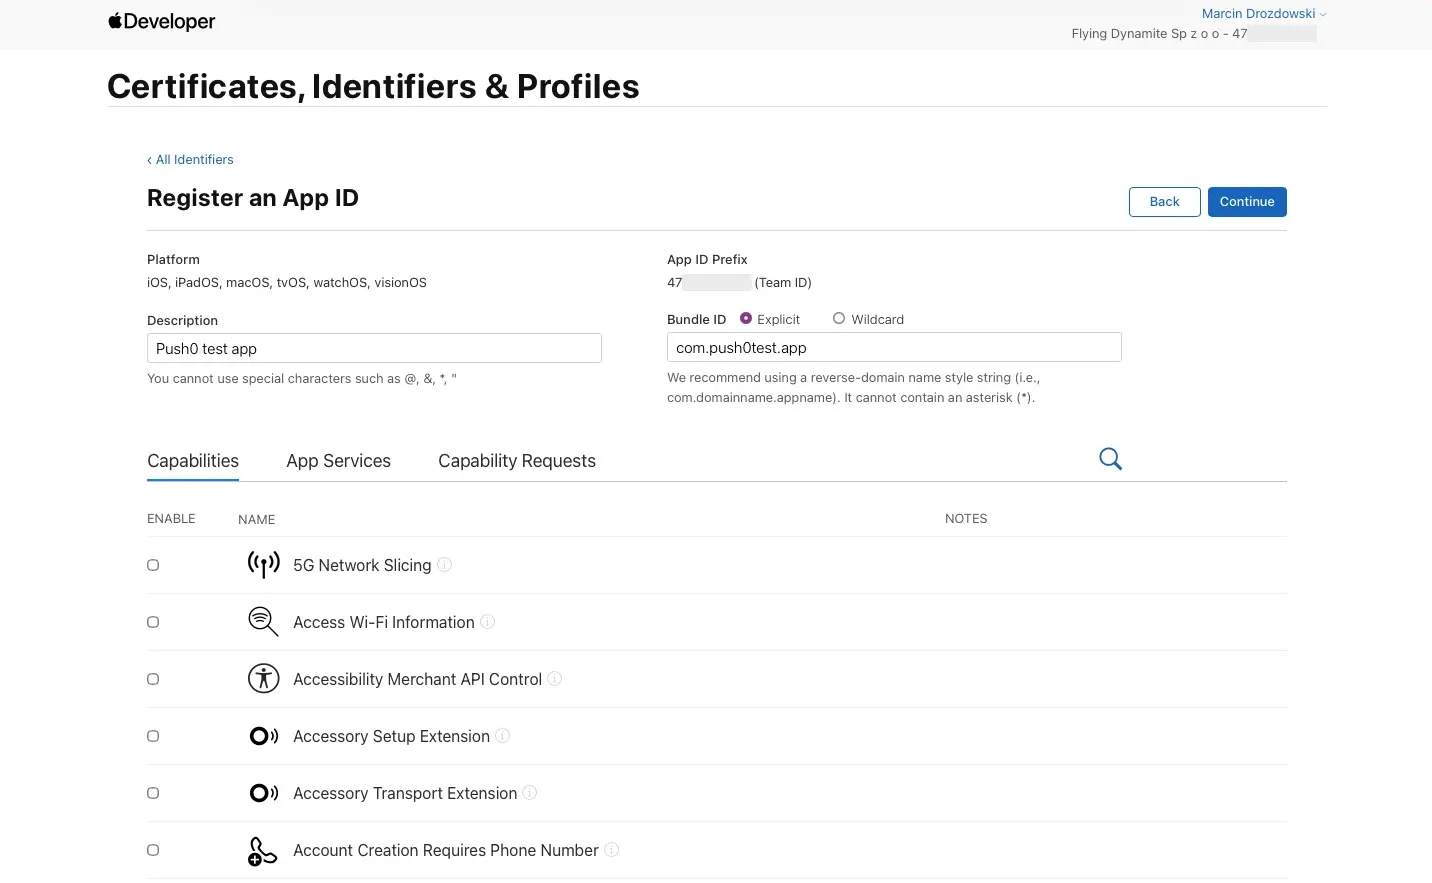
6 - Under Capabilities scroll to Push Notifications and select. Click Continue.
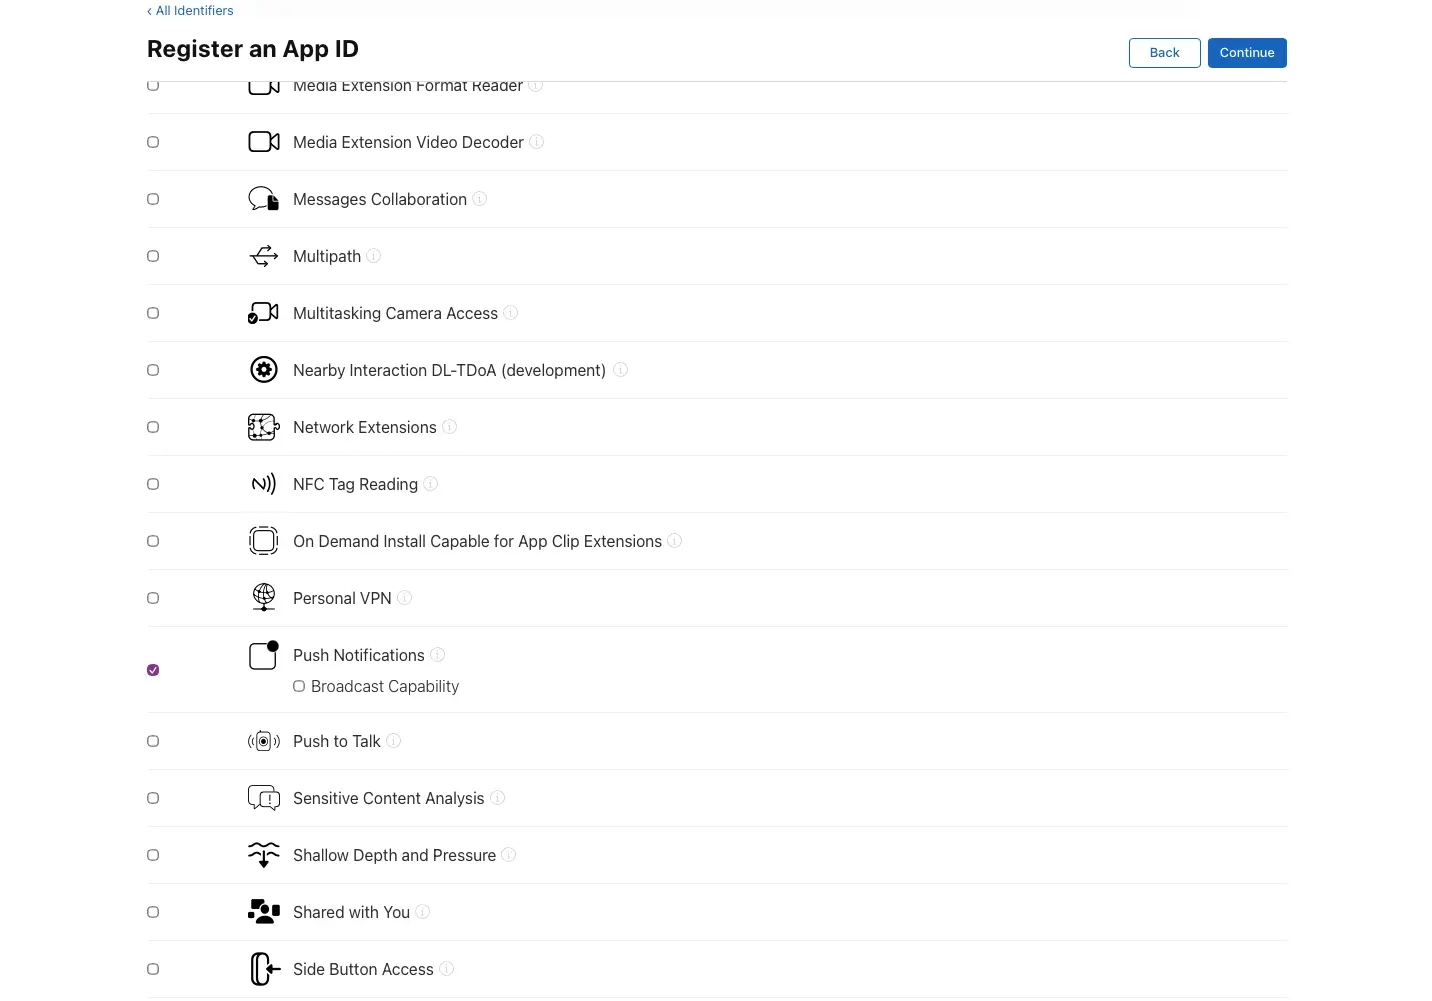
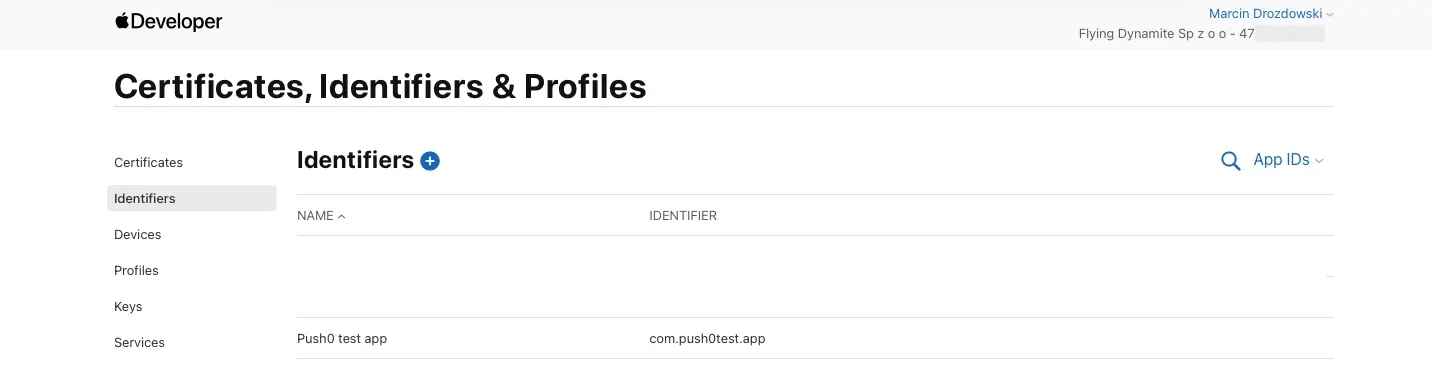
7 - Success ✅ - Your app identifier is created.
2. Generating p8 key
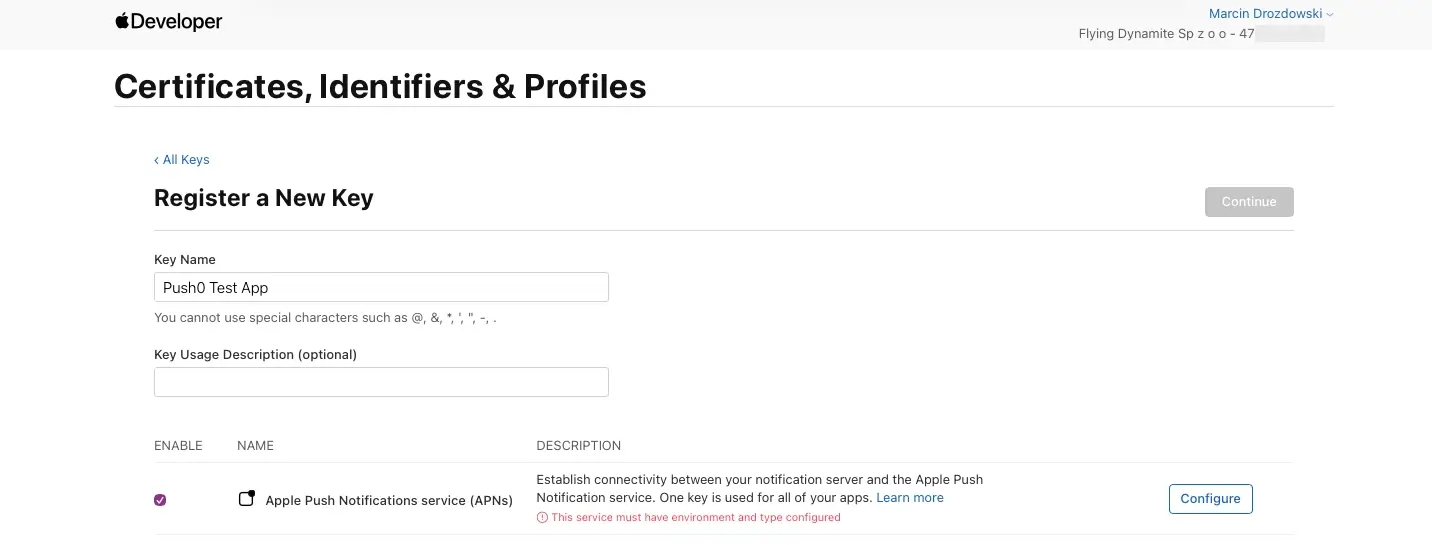
1 - Go to Keys. Click the + button to the right of Keys
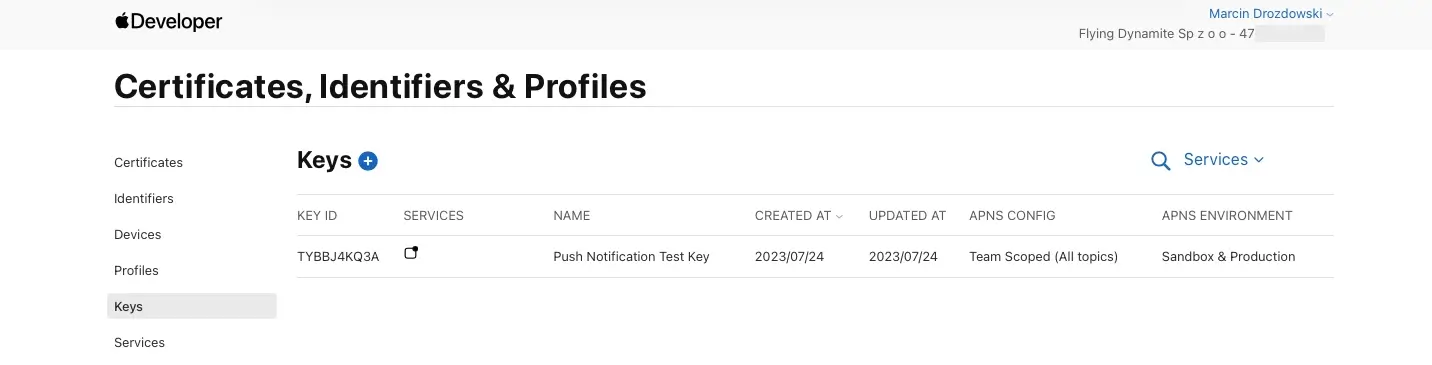
2 - Type your key name and select Apple Push Notifications service (APNs). Click Configure
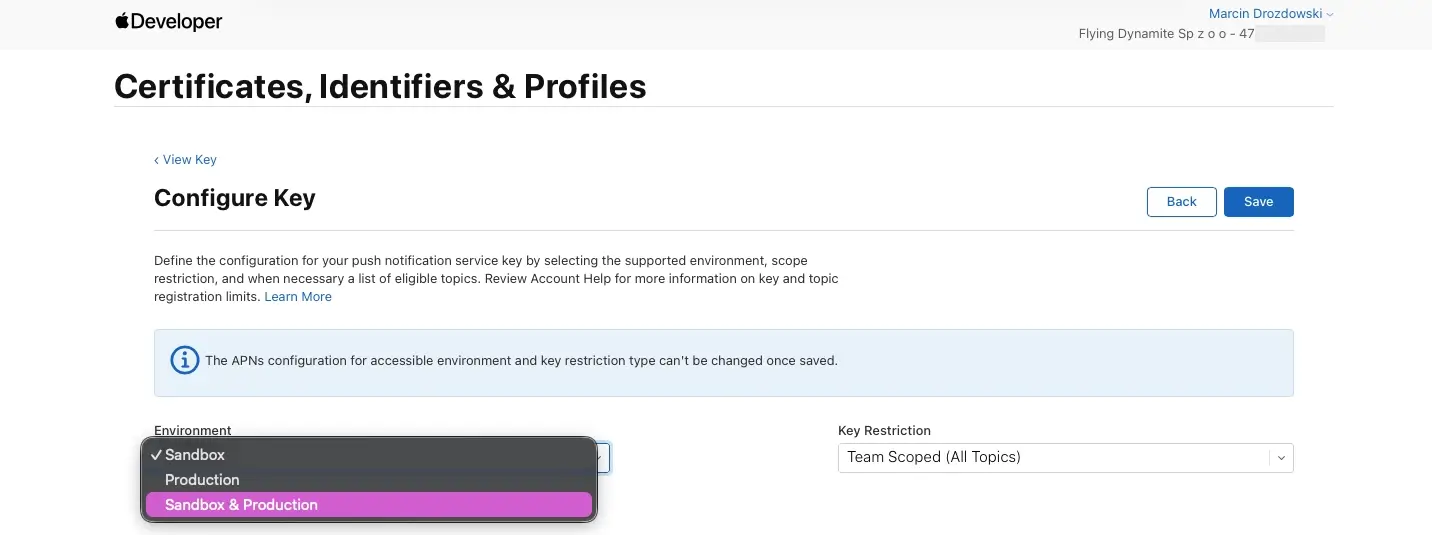
3 - Select key environment. Pick Sandbox & production! and click Save
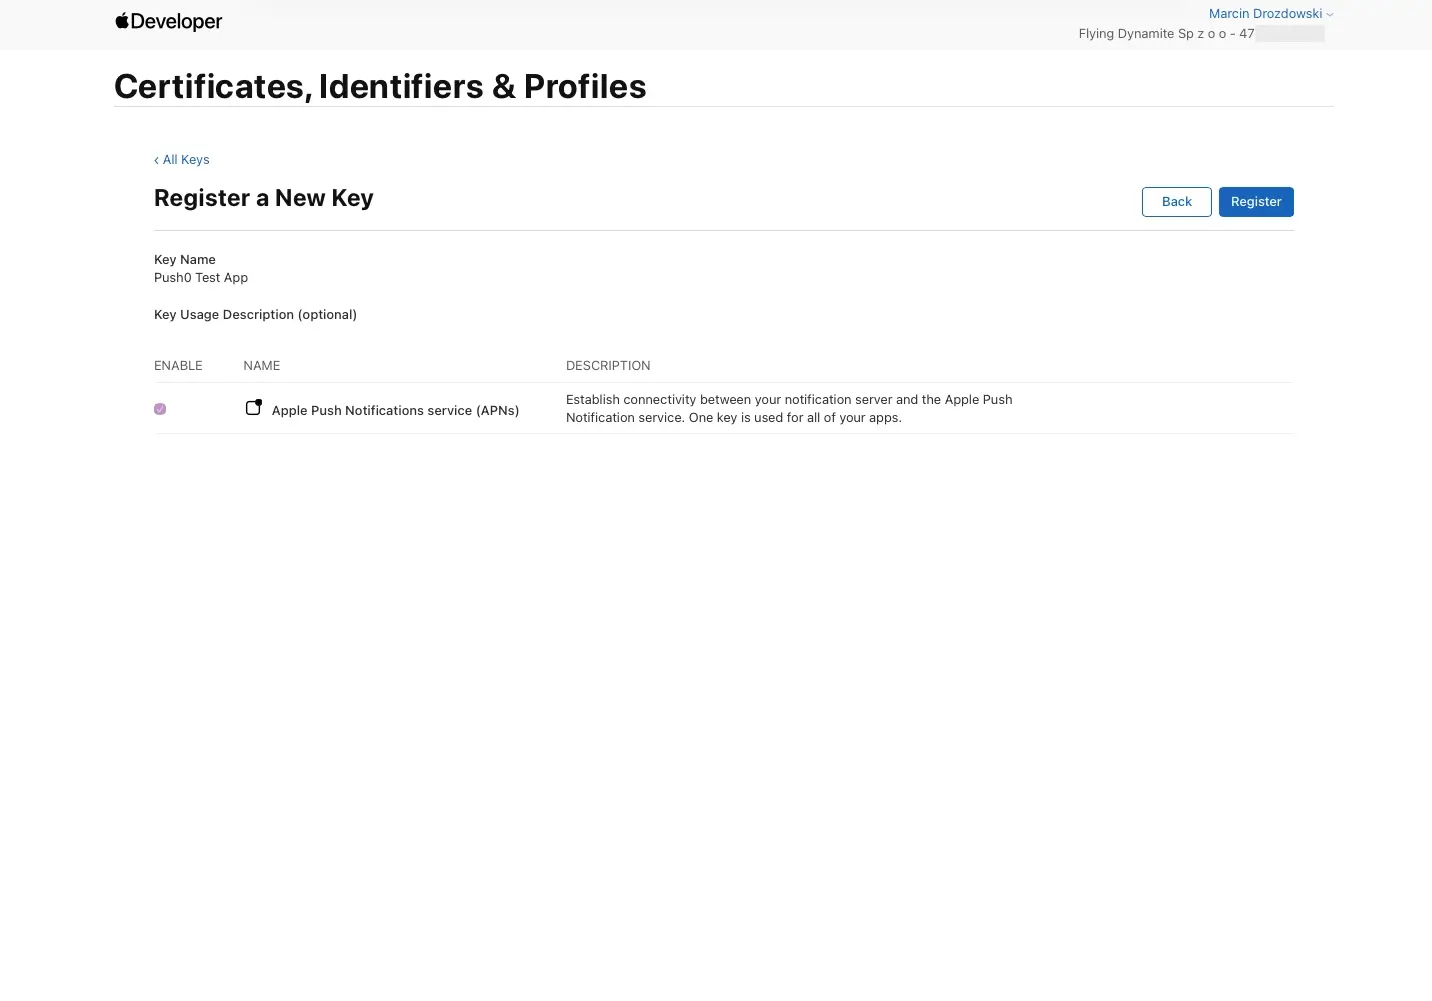
4 - Click Register
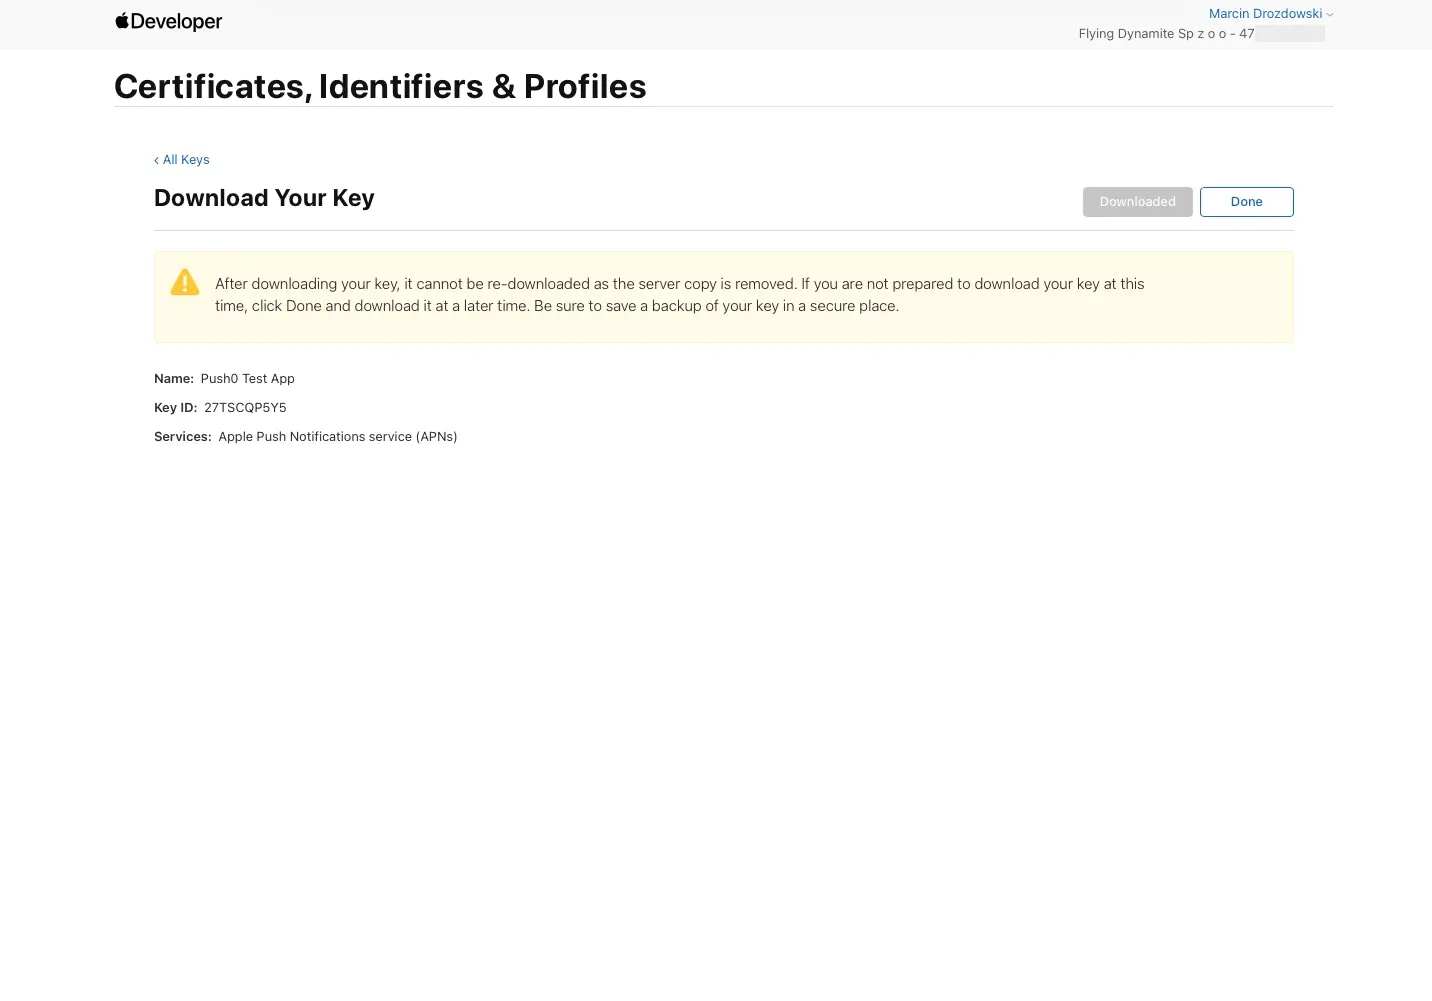
5 - Download your key.
Copy your Key Id and Team Id (here starts with '47').
Click Done.
Warning
Keep your .p8 key safe. You wont be able to download it again!
3. Push0 application configuration
1 - Go to the Push0 Account Log In and log in.
2 - Go to Apps and click on Create app button
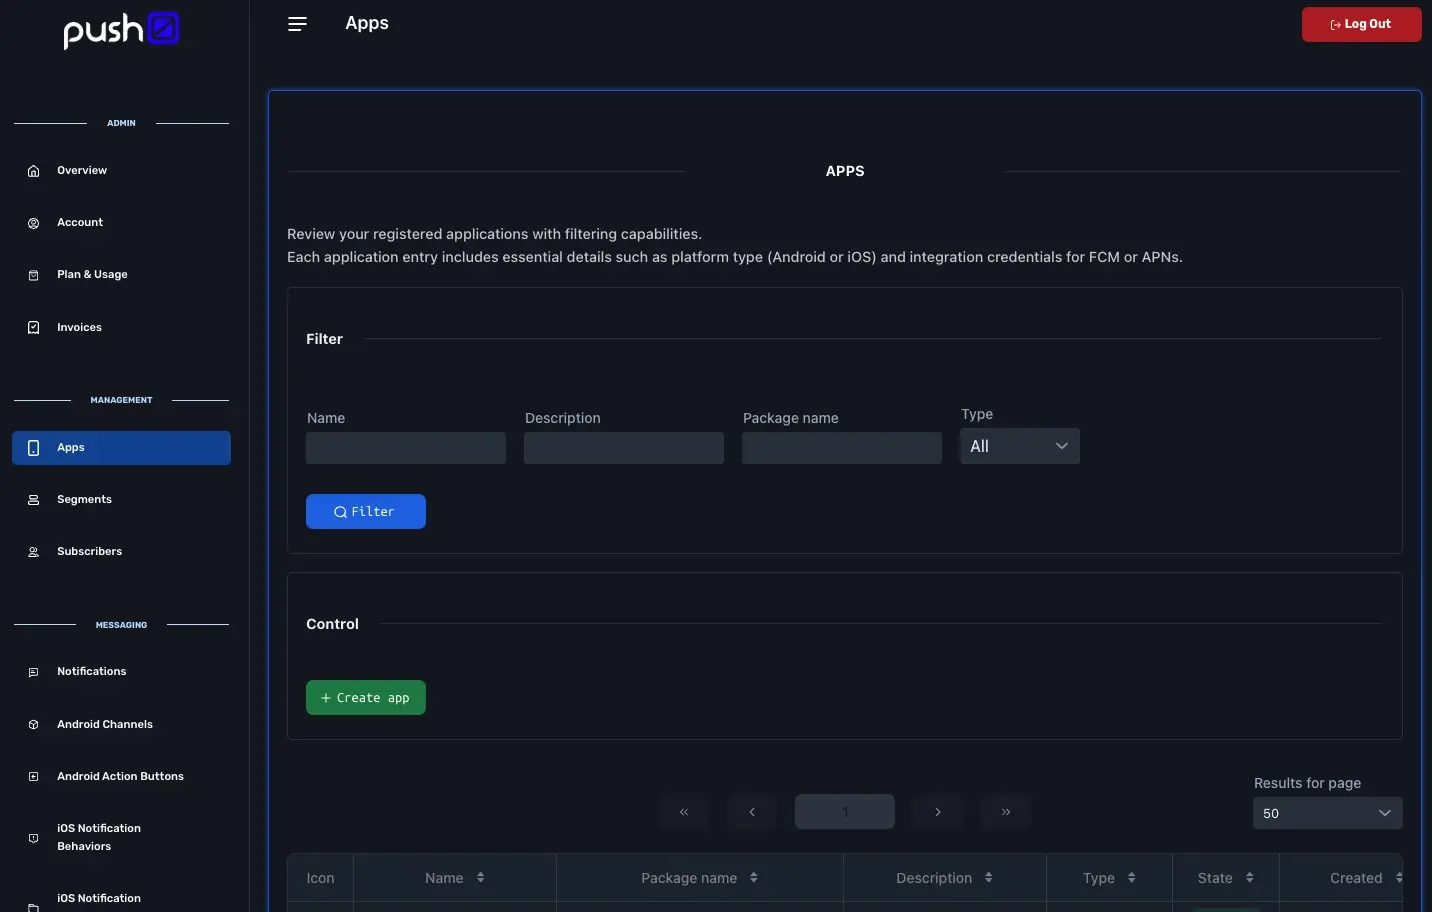
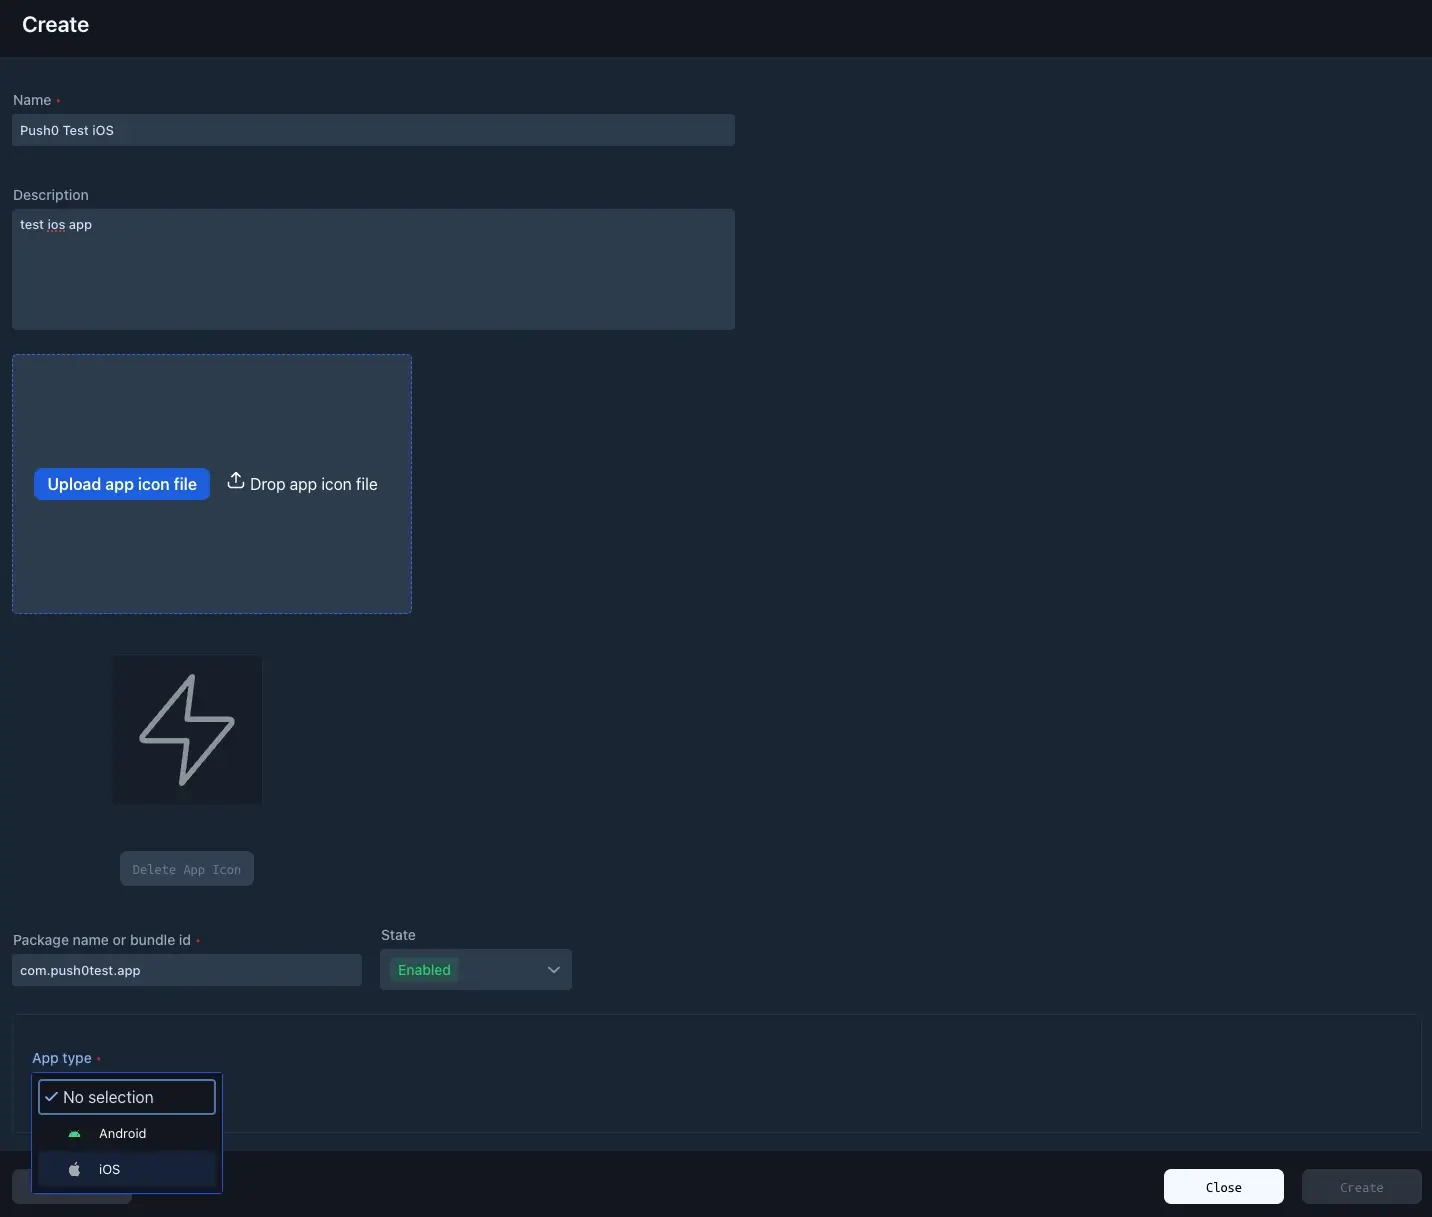
3 - Type your app name and select app type iOS
Warning
Package name (bundle id) must be the same as the one typed in Apple Developer Identifier configuration.
4 - Paste your package name (bundle id), team id and key id.
Upload your p8 key file (from 2.5)
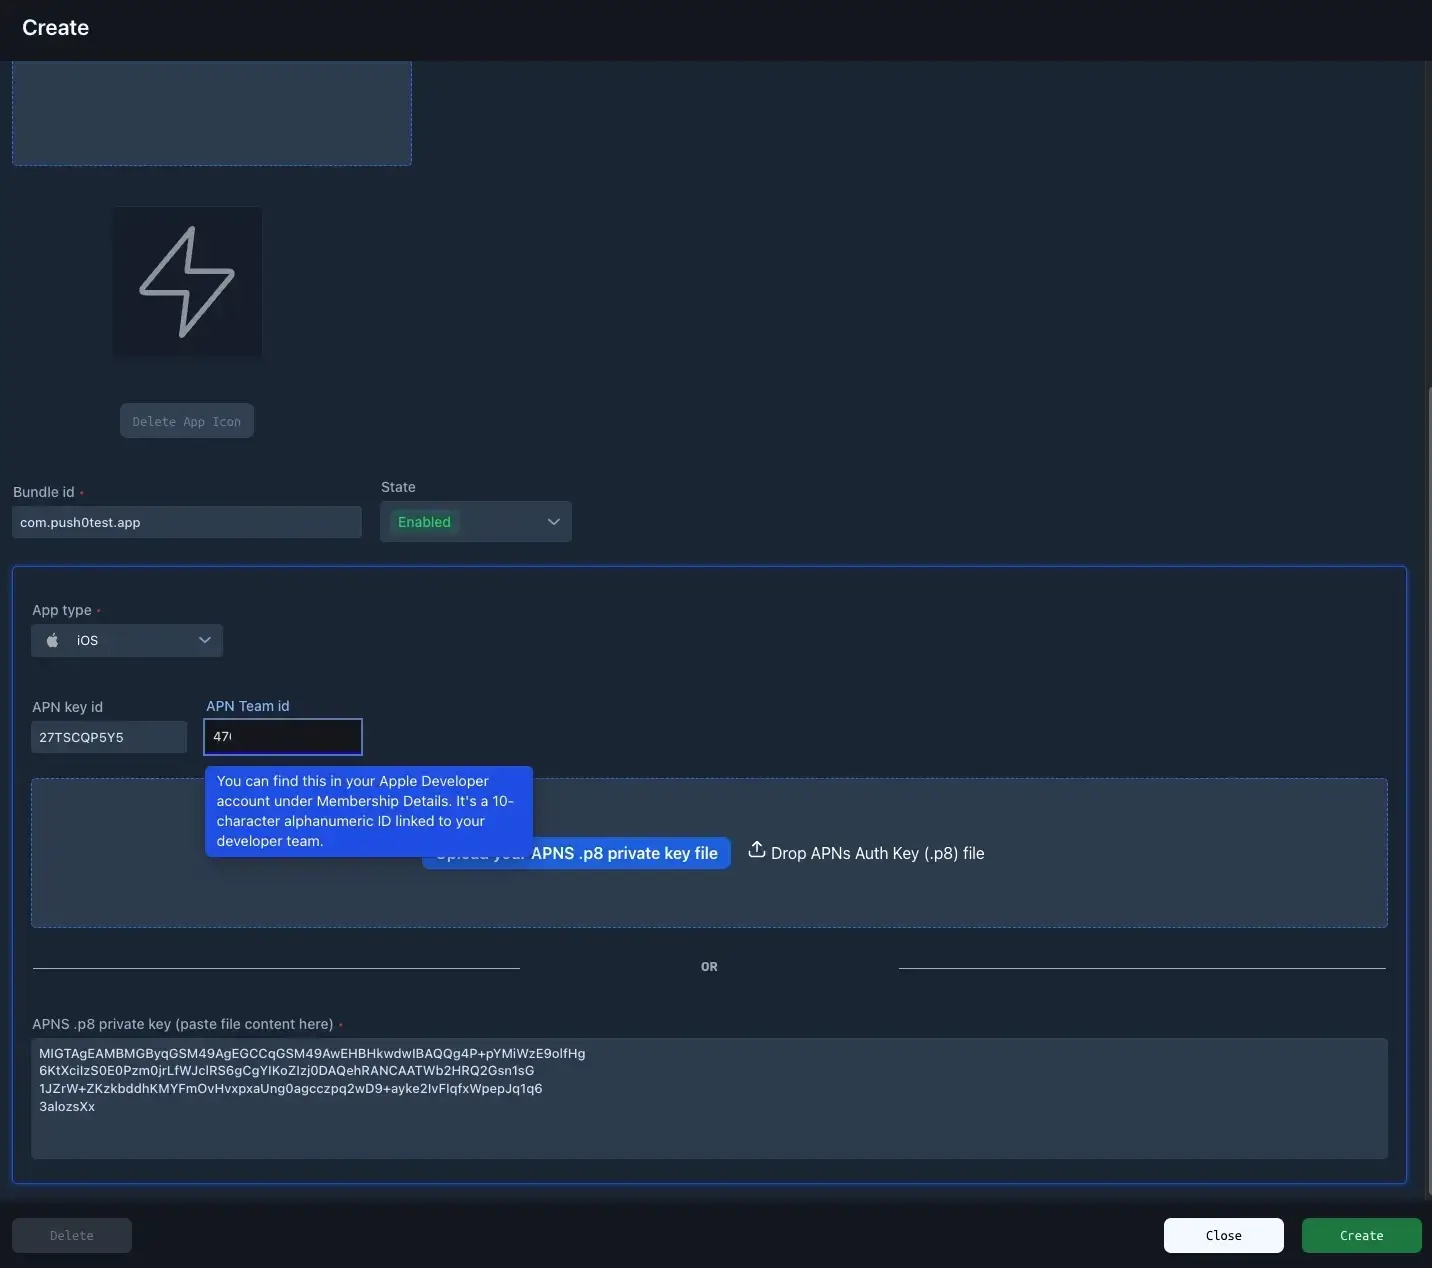
5 - Click create button and if everything was correct - your Push0 iOS application configuration is completed 🎉
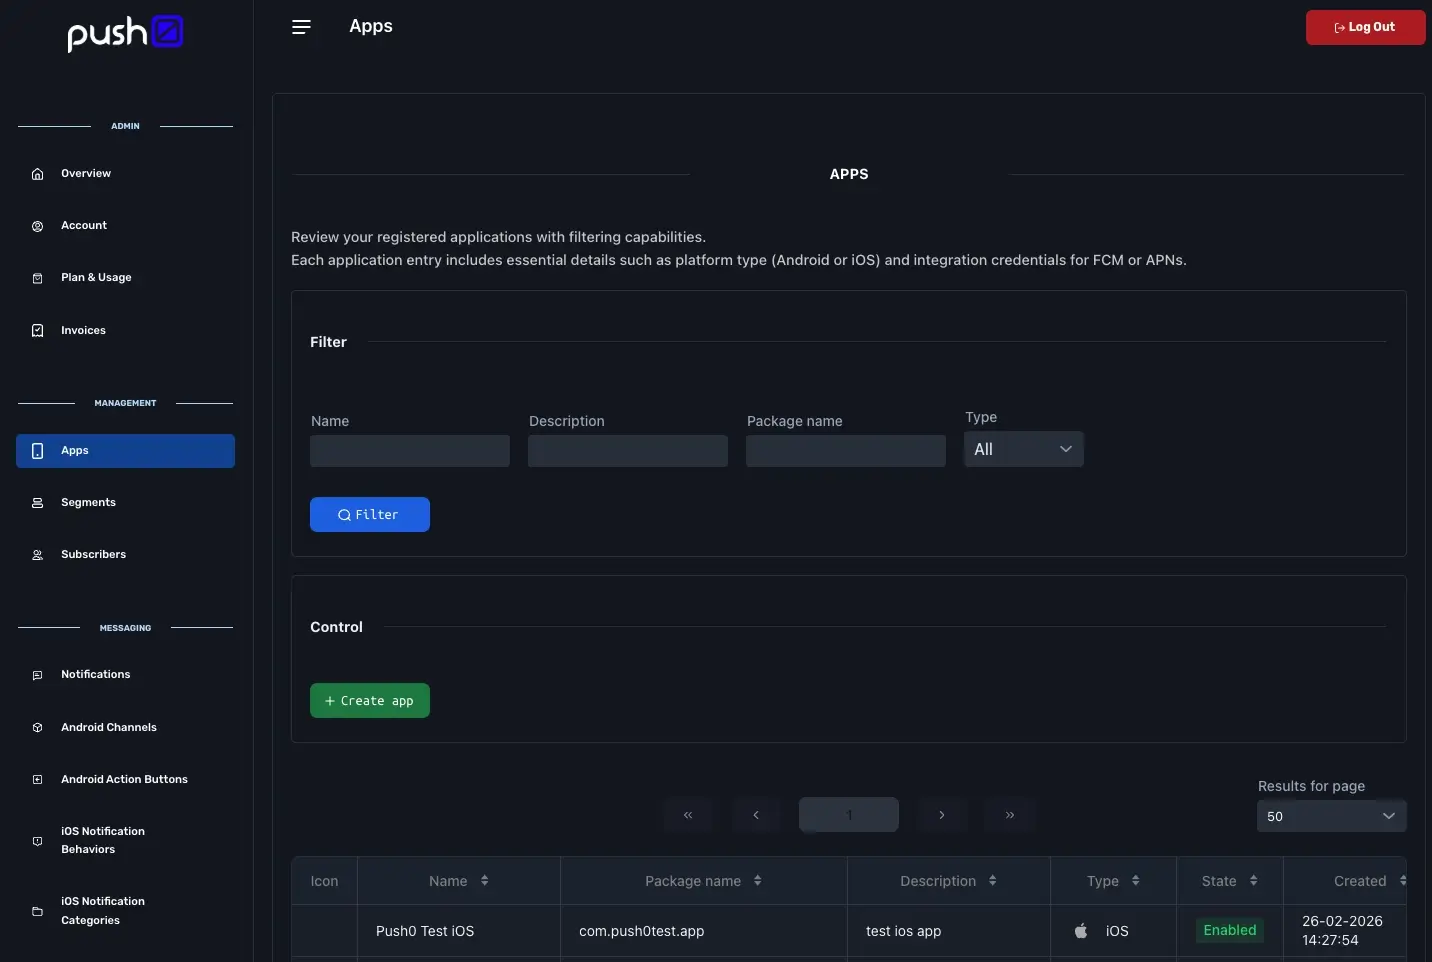
4. Finished ✅
Go to iOS SDK integration
or
API Reference