Integrate iOS / iPad SDK
The iOS SDK is required to enable push notifications in your application. It handles device registration with the Push0 API and ensures the device can receive notifications.
Important
iOS SDK is split into two components: iOS Client SDK and iOS Notification Extension SDK. Both are mandatory - neither works without the other, so both must be included in your project.
When integrated, the SDK automatically registers the device, obtains the push token from the system, and securely sends it to the Push0 backend. This registration step links the device to your application, allowing notifications to be delivered reliably.
Without the SDK, devices cannot register with the Push0 service and will not be able to receive push notifications.
1. Adding Push0 iOS client SDK to your project
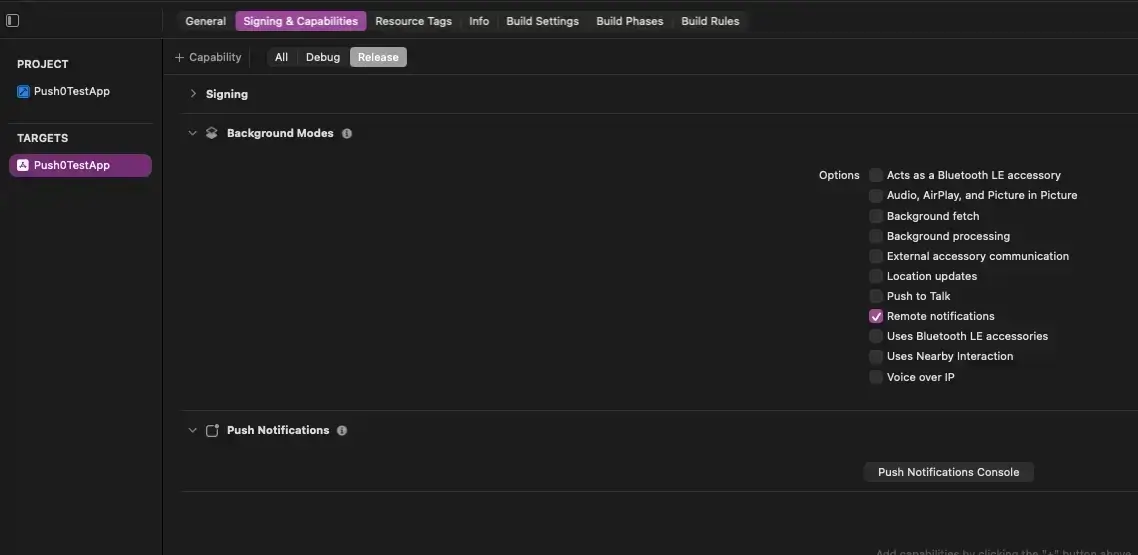
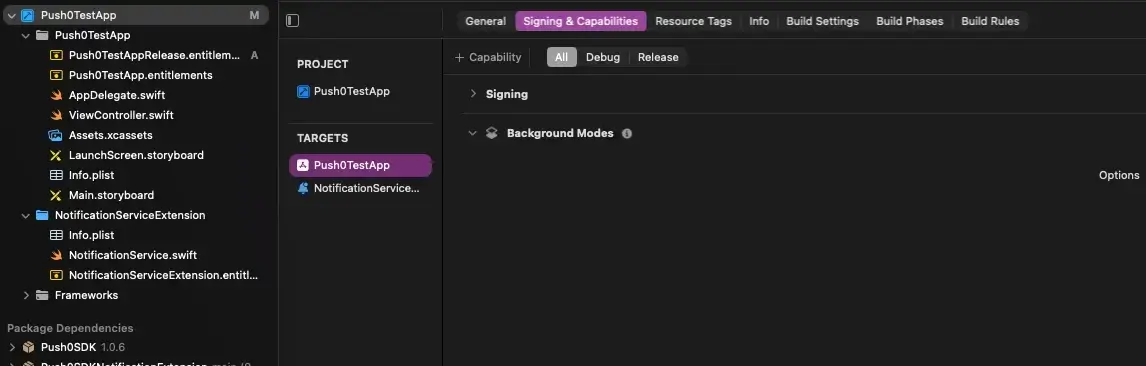
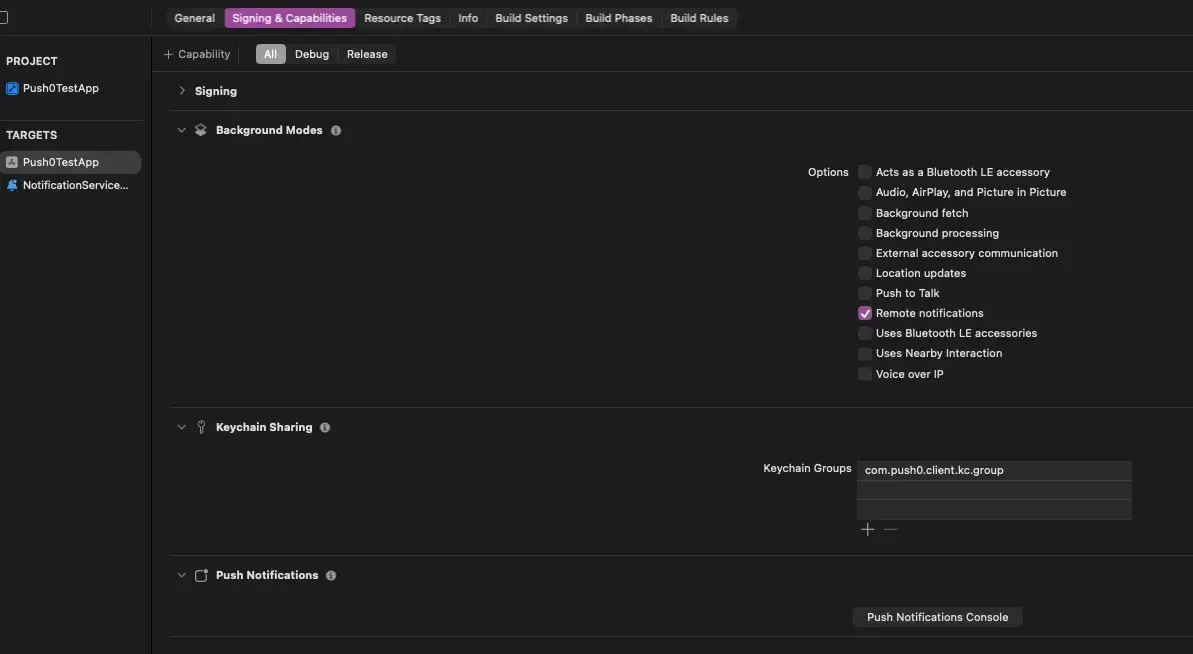
1 - Add Remote notifications capability
In Signing & capabilites in your main app target select Remote notifications capability
Important
This is very important.
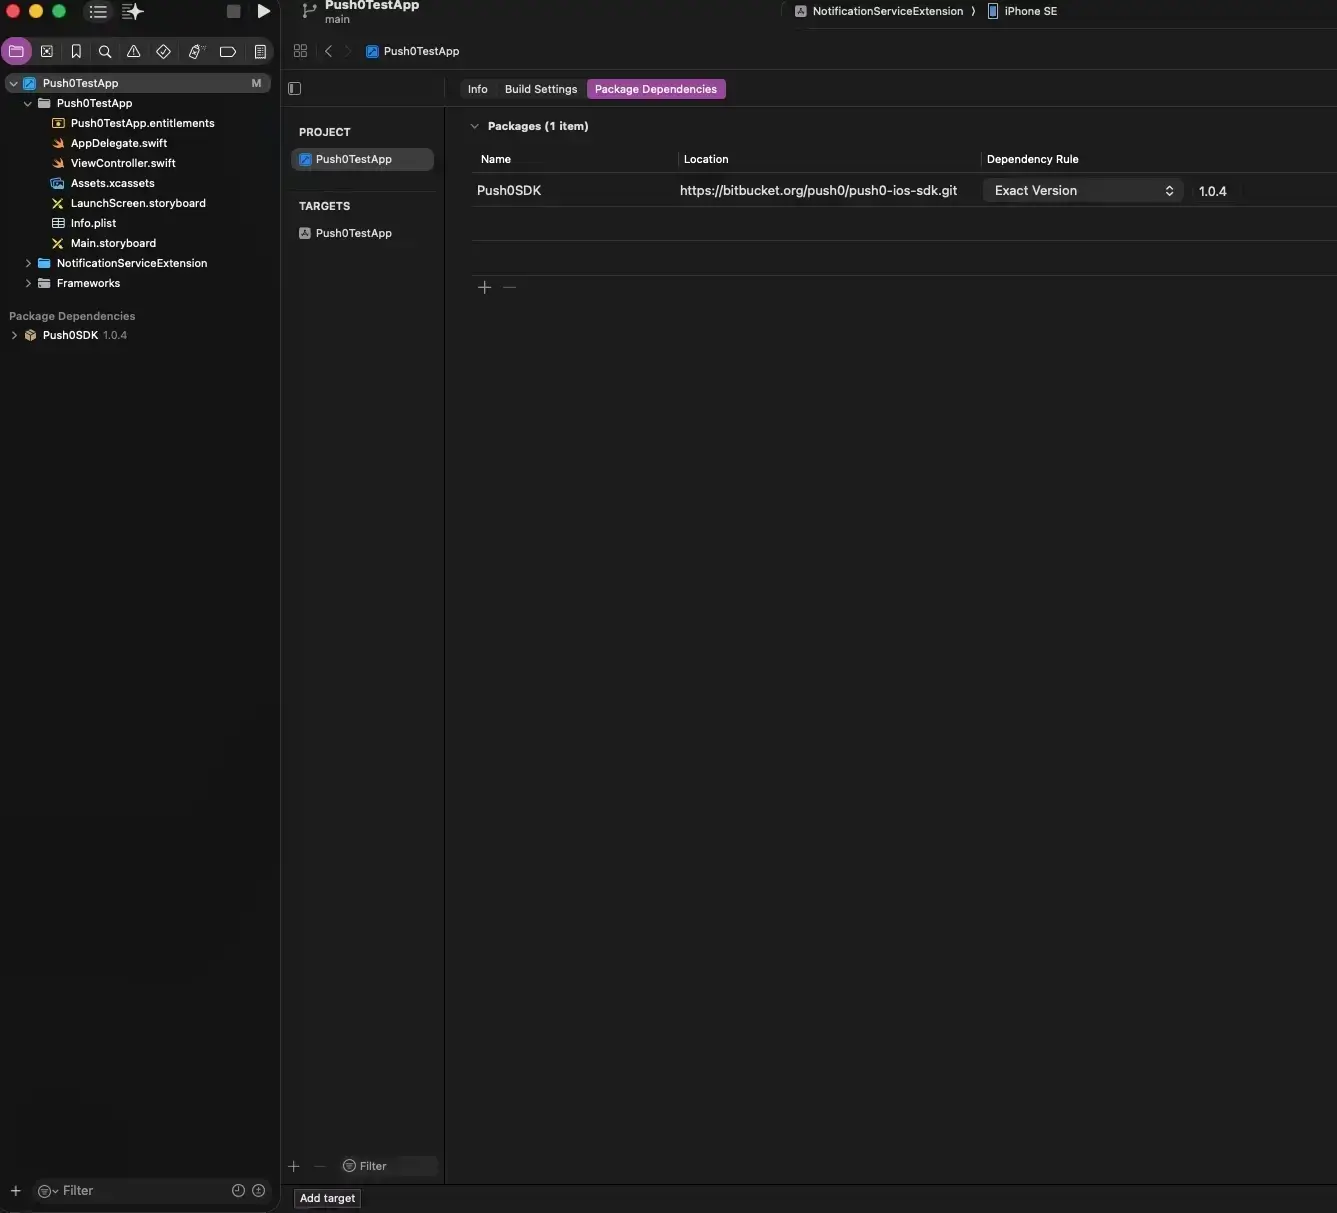
2 - Go to Package dependencies in your project settings. Click + button
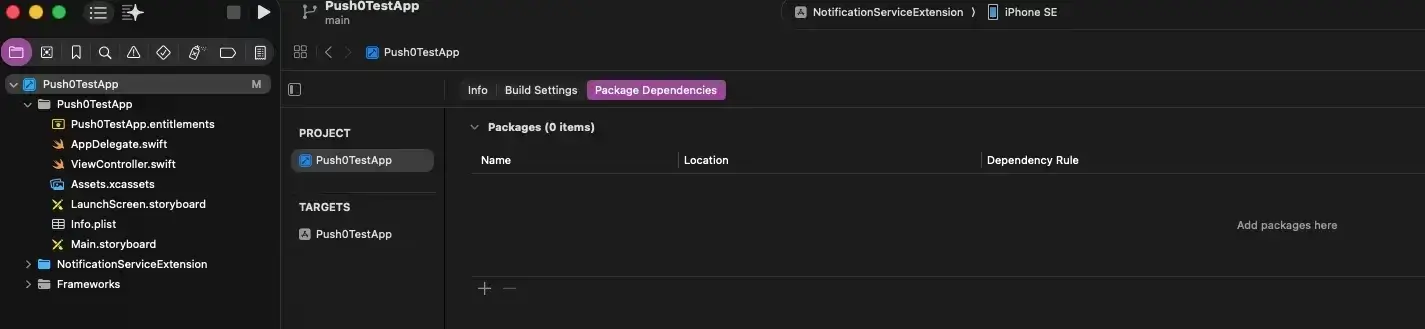
Copy the following URL to your clipboard and paste it into the Search or enter Package URL field.
Select Exact version and select the newest version number. Click Add package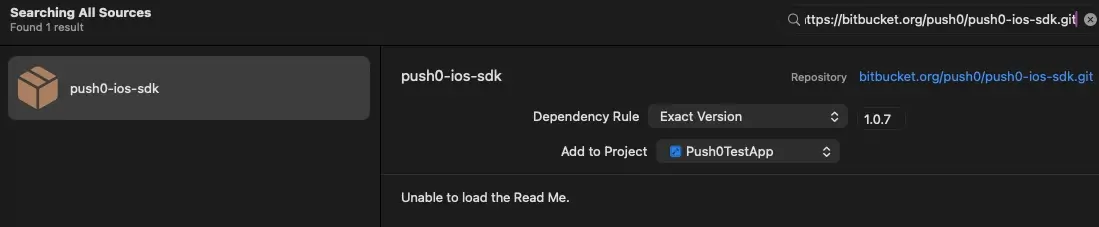
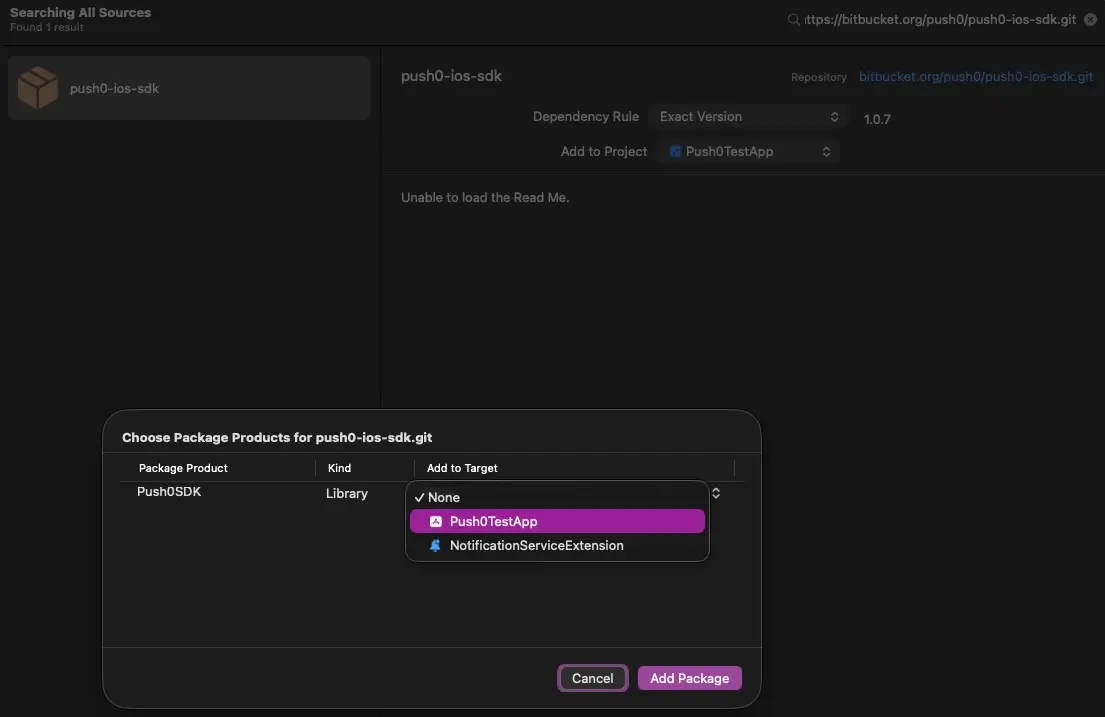
Select your main app target. Click Add package
3 - Code: AppDelegate.swift
Setting your apiKey and appId
import UIKit
import Push0SDK

@main
class AppDelegate: UIResponder, UIApplicationDelegate {

    func application(_ application: UIApplication, didFinishLaunchingWithOptions launchOptions: [UIApplication.LaunchOptionsKey: Any]?) -> Bool {

        let apiKey = "my_api_key"
        let applicationId = "my_app_id" // Example: "app_g454h65"

        Push0.initialize(
            applicationId: applicationId,
            apiKey: apiKey,
            customUserId: nil,
            userEmail: nil,
            logLevel: .debug,
            developerMode: false, // Enable ONLY in Developer mode. Don't use on TestFlight or Production builds!
            launchOptions: launchOptions)

    // Requesting notification permission. Without this your app wont be able to receive push notifications
        Push0.requestNotificationPermission(owner: self) { granted in
            print("AppDelegate / App has notification permissions -> \(granted)")
        }

        Push0.setOnInitializedListener(owner: self) {
            print("AppDelegate / Push0 initialized")
        }


        Push0.setOnNotificationReceived(owner: self) { notification in
            print("AppDelegate / Push0 new notification -> \(notification)")
        }

        Push0.setOnNotificationClicked(owner: self) { notification in
            print("AppDelegate / Push0 notification clicked -> \(notification)")
        }

        Push0.setOnNotificationButtonClicked(owner: self) { actionId, notification in
            print("AppDelegate / Push0 notification button clicked / actionId -> \(actionId) / notification -> \(notification)")
        }


        return true
    }

}
3 - Enabling developer mode
Warning
Use only in Developer mode. Don't use on TestFlight or Production builds!In developer mode push notifications are sent to APNS sandbox environment.
There is no option to disable developer mode on current device.
4 - LogLevel
Indicates level of logs.
let logLevel = Push0LogLevel.debug

        Push0.initialize(
            applicationId: applicationId,
            apiKey: apiKey,
            customUserId: nil,
            userEmail: nil,
            logLevel: logLevel,
            developerMode: false,
            launchOptions: launchOptions)
5 - Setting user email or custom id
Indicates level of logs.
let email = "[email protected]"
let customUserId = "my_backend_custom_user_id"

let logLevel = Push0LogLevel.debug

// Can be set during initialisation:
        Push0.initialize(
            applicationId: applicationId,
            apiKey: apiKey,
            customUserId: customUserId,
            userEmail: email,
            logLevel: .debug,
            developerMode: false,
            launchOptions: launchOptions)

// or anywhere on any screen (email + customUserId at the same time):
Push0.setCustomUserIdAndEmail(customUserId: customUserId, email: email)

// or separately on any screen:
Push0.setUserEmail(email)
Push0.setCustomUserId(customUserId)
6 - User tags
Adding or removing device tags
7 - User logout
Should be used when your user has logged out of your application or there is a need to remove current FCM push token.
Warning
This method unregisters current user device and creates a new one.
2. Adding Push0 iOS client Notification Service Extension SDK to your project
1 - Go to your project settings. In Targets section Add Target by clicking + button
Important
Without Notification Service Extenstion your app won't be able to register notification actions.
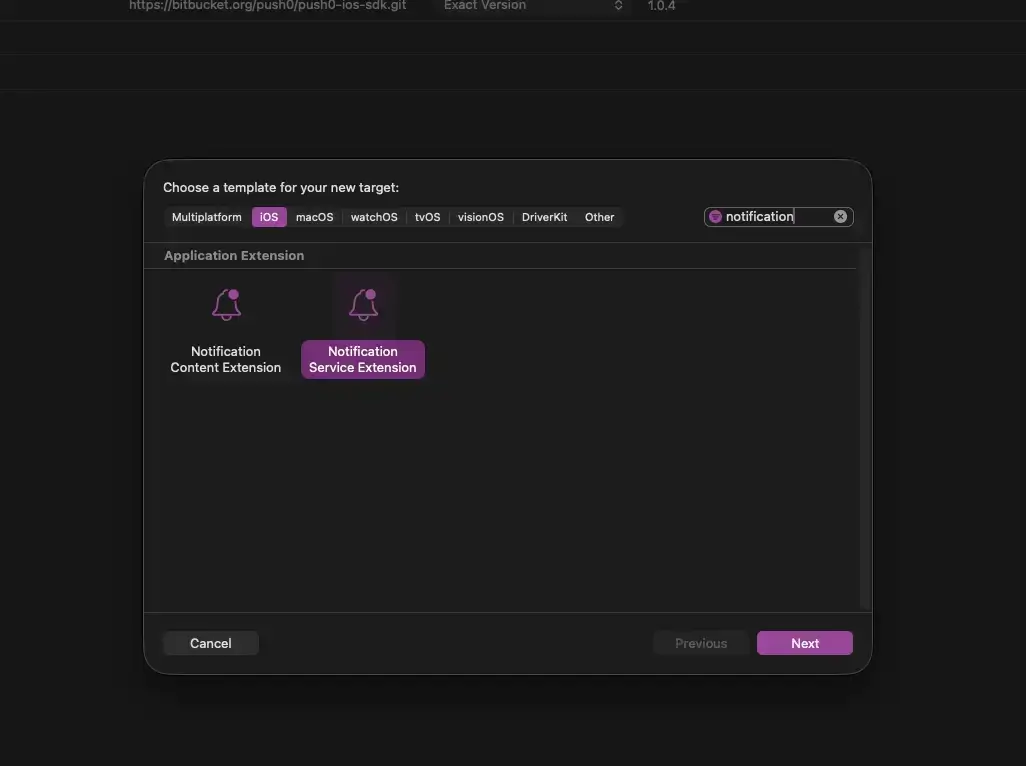
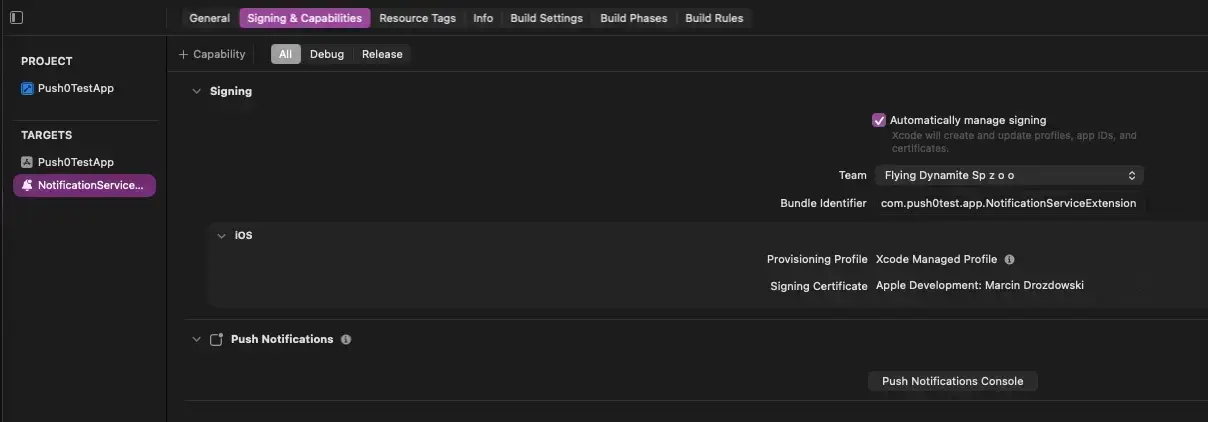
2 - Search for Notification Service Extension. Select it. Click Next button.
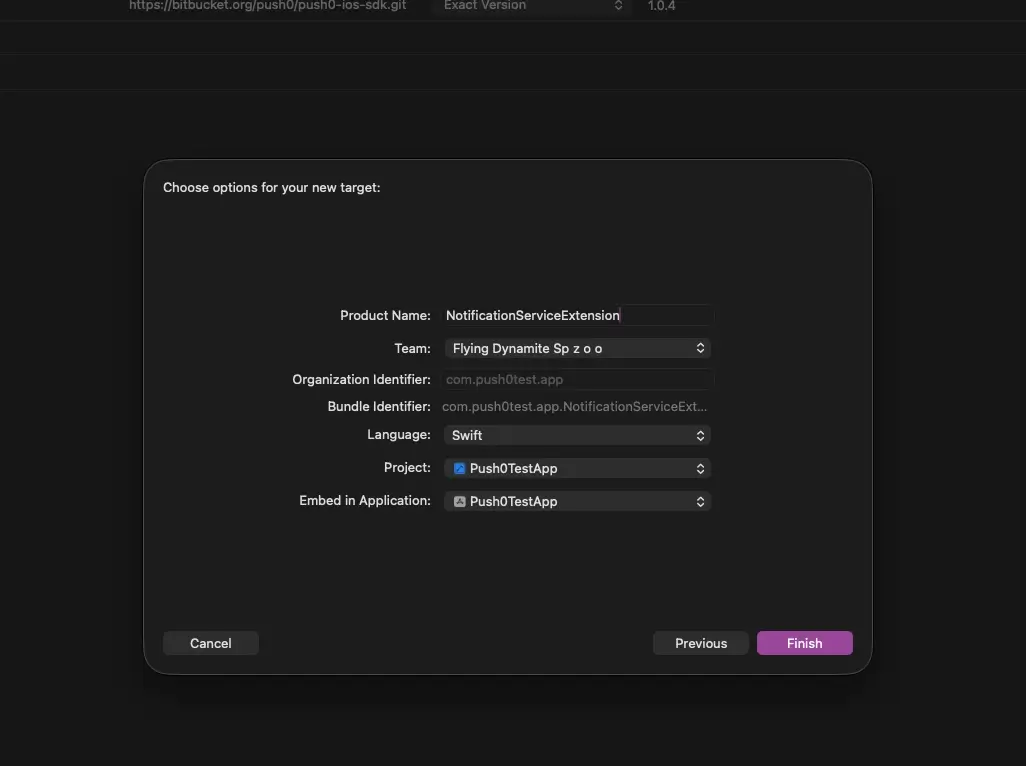
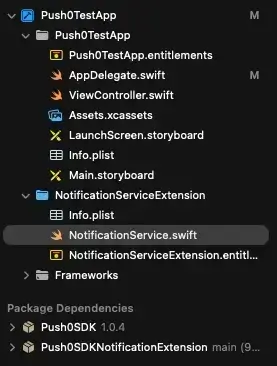
3 - Type your notification service extension target name for example NotificationServiceExtension. Click finish
4 - Go to Package dependencies in your project settings. Click + button
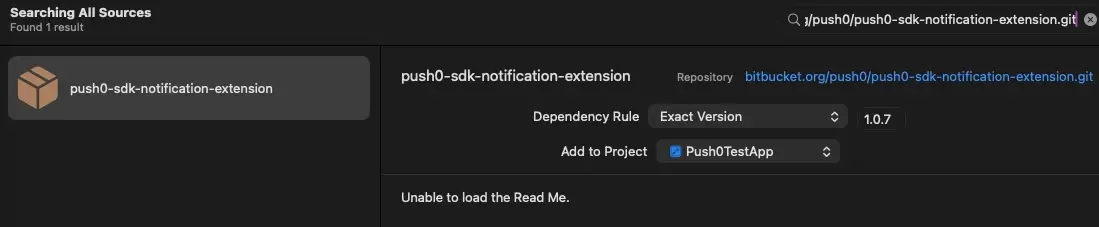
Copy the following URL to your clipboard and paste it into the Search or enter Package URL field.
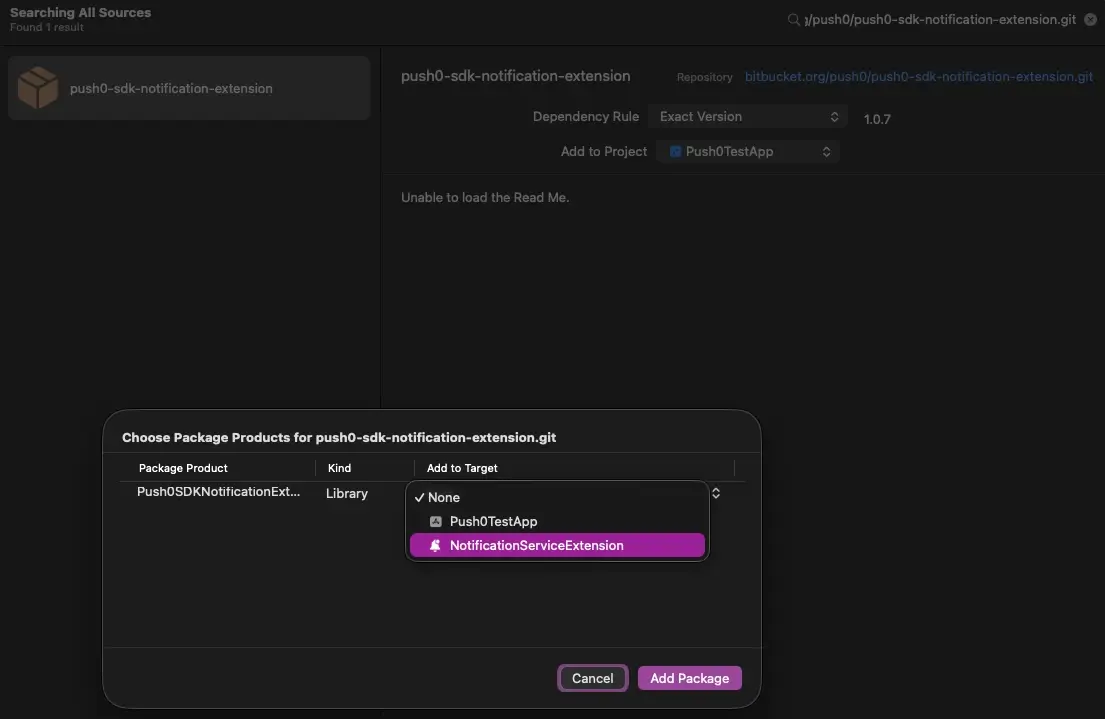
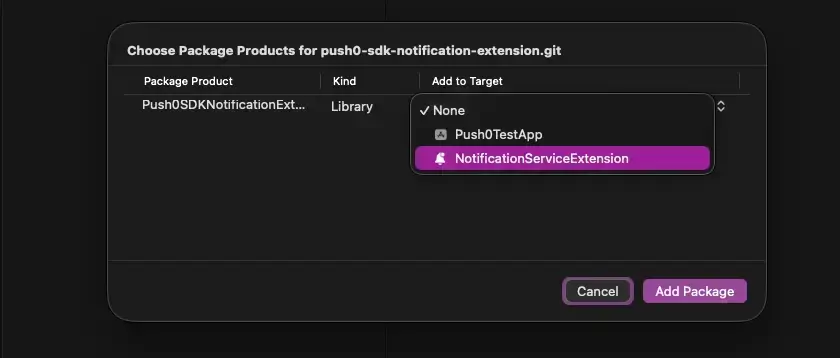
Select your main Notification Service Extension target. Click Add package
5 - Code: NotificationService.swift (in your Notification Extension Service)
Warning
Without this your app will not be able to register notification actions.
The code
import UserNotifications
import Push0SDKNotificationExtension

class NotificationService: UNNotificationServiceExtension {

    var contentHandler: ((UNNotificationContent) -> Void)?
    var receivedRequest: UNNotificationRequest?

    override func didReceive(
        _ request: UNNotificationRequest,
        withContentHandler contentHandler: @escaping (UNNotificationContent) -> Void
    ) {

        self.contentHandler = contentHandler
        self.receivedRequest = request


        Push0NotificationExtension.handleReceivedNotificationExtensionRequest(
            request: request,
            withContentHandler: contentHandler
        )
    }

    override func serviceExtensionTimeWillExpire() {

            Push0NotificationExtension.serviceExtensionTimeWillExpire(
                request: receivedRequest,
                contentHandler: contentHandler
            )
    }
}
3. Keychain access group
Important
Without correct keychain access group configuration - your app won't be able to display notifications and register notification actions.
Copy the following group id:
1 - Go to your project settings. In Targets section select you main app target
2 - To the right of + Capability select All. Click + Capability.
3 - Type Keychain and select Keychain sharing
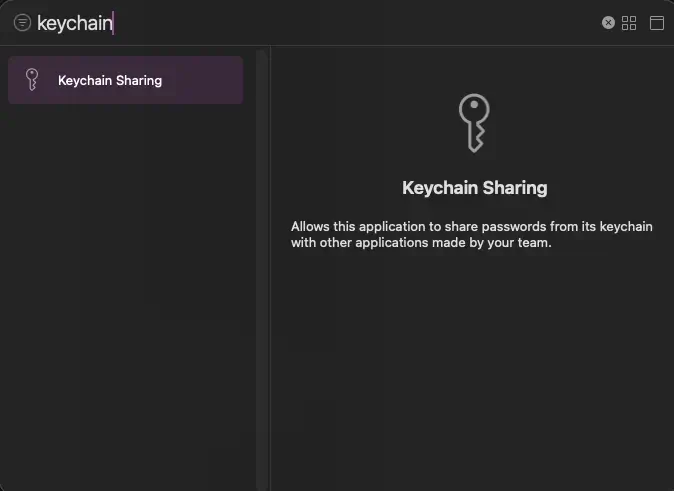
4 - In Keychain Sharing in Keychain Groups click the '+' and paste above group id.
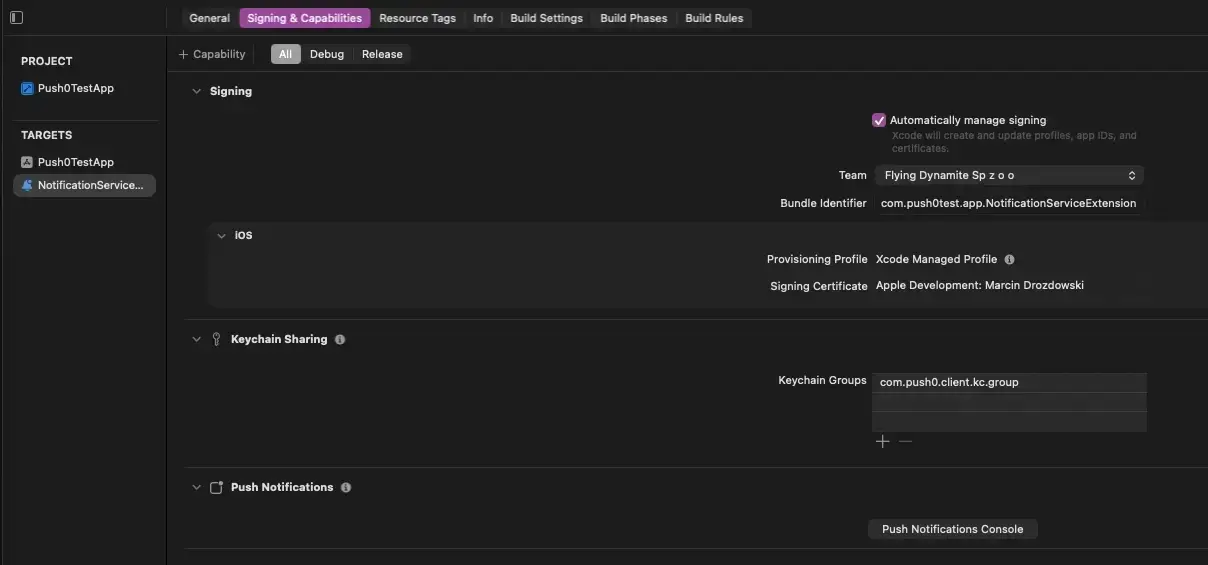
5 - Select your Notification Service Extension target. To the right of + Capability select All. Click + Capability.
6 - Type Keychain and select Keychain sharing
7 - In Keychain Sharing in Keychain Groups click the '+' and paste above group id.
All setup correctly!